An Oqtane Application Template was introduced in the 6.2 release which substantially improves the developer experience when developing applications using Oqtane. The primary use case for the Oqtane Application Template was to allow developers to quickly scaffold an application using the .NET Command Line Interface (CLI). CLI support is important because it enables cross platform scenarios and is not restricted to any specific Integrated Development Environment (IDE). That being said, a lot of Microsoft developers prefer to use Visual Studio and the Oqtane Application Template was enhanced in 6.2.1 to provide a streamlined Visual Studio "File / New / Project" experience.
The first thing you will need to to is install the Oqtane Application Template. This is easiest to accomplish by using the .NET Command Line Interface (CLI).

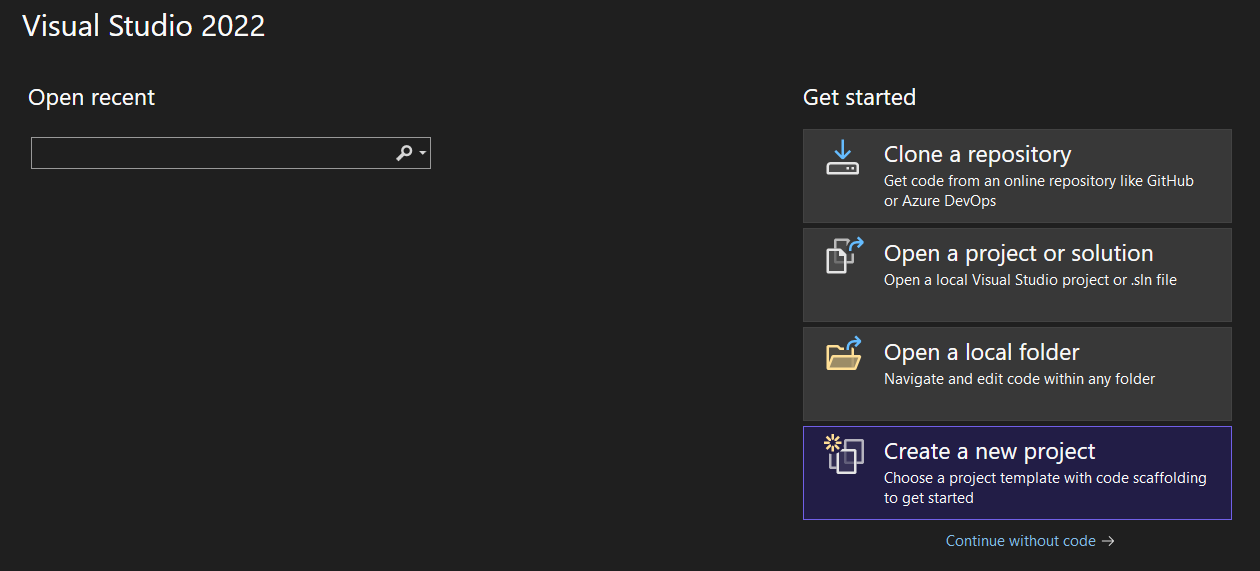
In Visual Studio select the File / New / Project menu option. The initial screen of the project creation wizard will be displayed. Choose the "Create a new project" option.
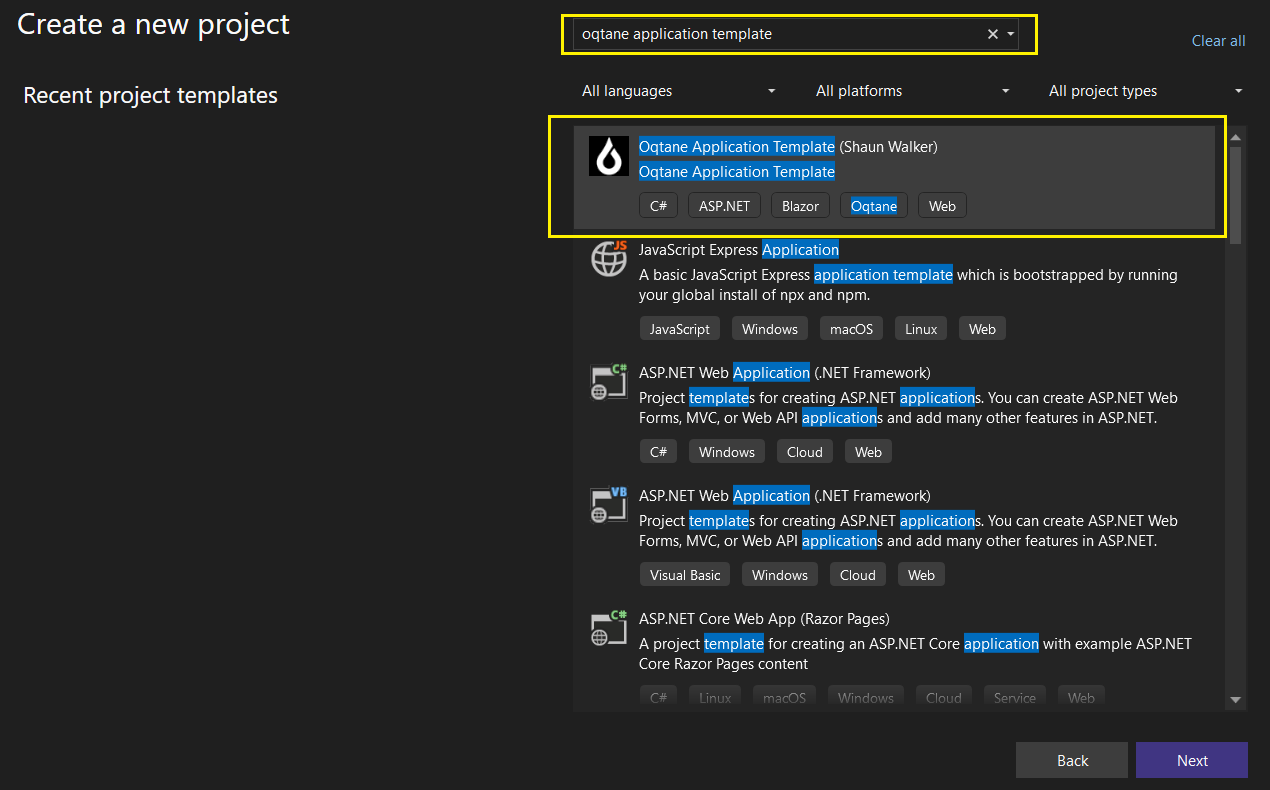
In the search box at the top right, enter "oqtane application template" and it will appear in the list below. Select it and click the Next button.
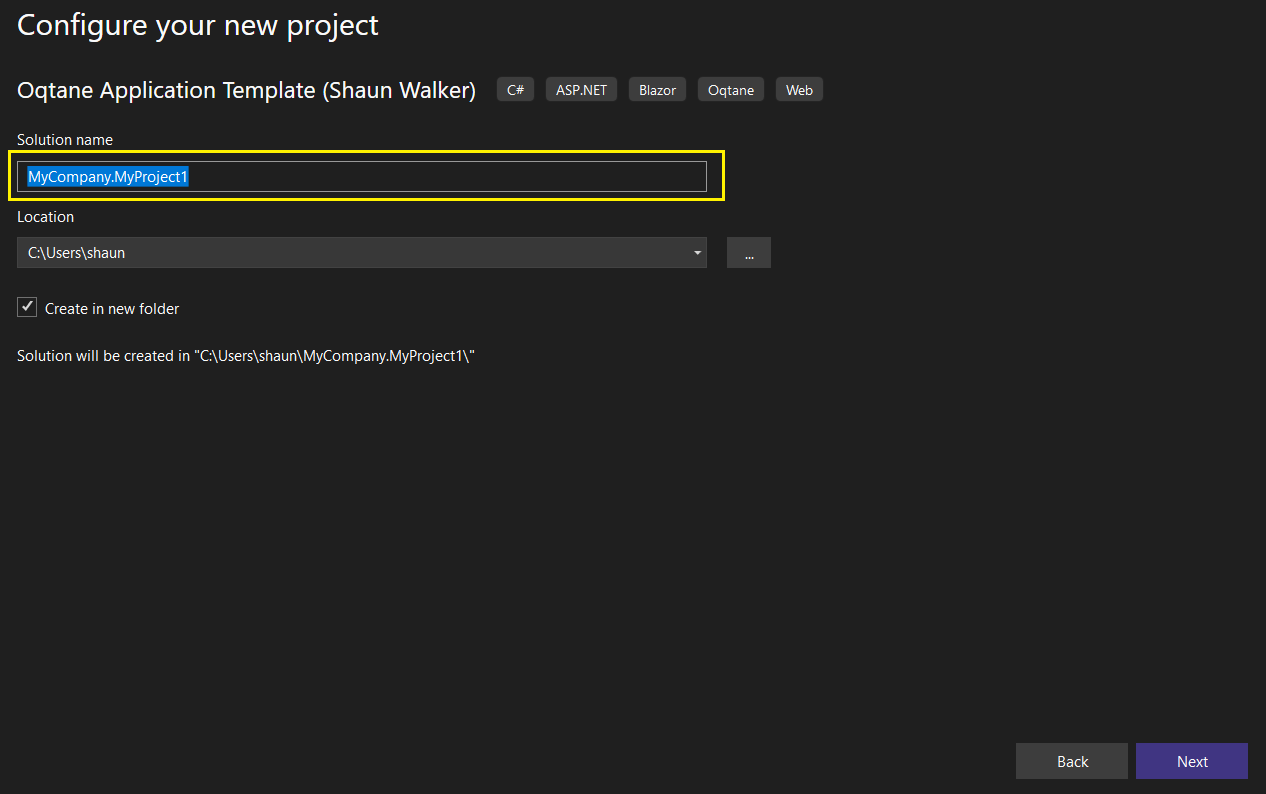
The "Configure your new project" screen allows you to specify a name for your project and a location for where the code will be created. The name specified should be unique, as it will essentially become the namespace for your entire project. Click the Next button when you are ready to continue.
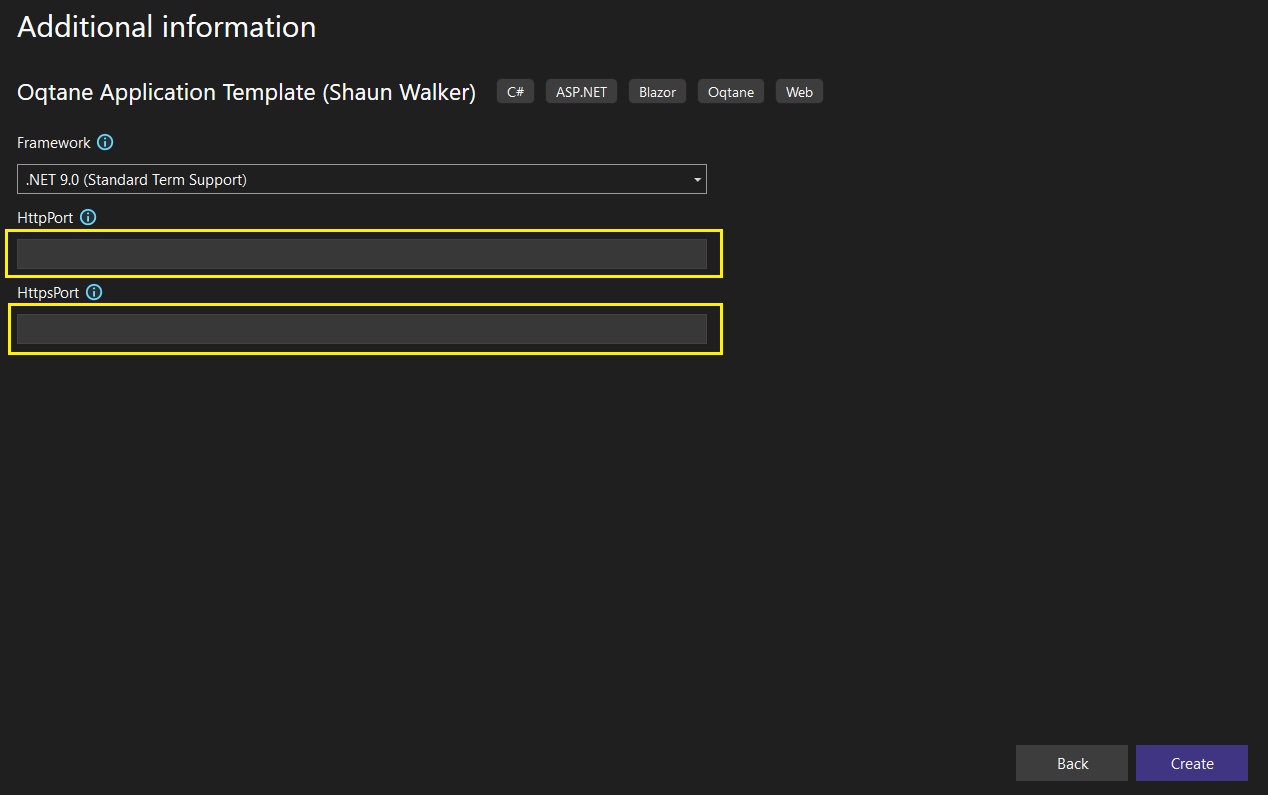
The "Additional information" screen allows you to specify a few additional options. At this time, the Oqtane Application Template is targeted at .NET 9 so you should ensure it is selected for the Framework. Oqtane is a web application and it will use the local Kestrel web server to run the application. You have the ability to specify the HTTP and HTTPS ports you would prefer to use. If you want Visual Studio to generate its own random ports, you will need to remove the default "0" value which is displayed and set the values to blank. Click the Create button when you are ready to continue.
A completely functional Oqtane Application will be created for you in the location specified, and the solution (*.sln) will be automatically loaded. At this point you can hit F5 to run the application, which will display Oqtane's Install Wizard.